DIY Rally Signs

Use this step-by-step guide to assemble your signs for The Rally to Reclaim Free Speech. Join us on Monday, March 18, at the United States Supreme Court in Washington, D.C. as we stand up to government censorship.
Tools Needed:
- Measuring Tape or Ruler
- Phillips Screwdriver or Wood Pencil
- Scissors
- Wire Cutters (cutting zip ties)
- Razor Knife (optional)

Rally Sign without Handle:
If you do not want or need a handle for your sign there are a couple options if you want to use the Rally graphics provided by CHD.
- If you live near an OfficeMax or OfficeDepot you can download the Rally graphic of your choice and have it printed on corrugated plastic board and your sign will be done.
- If you do not live near an OfficeMax or OfficeDepot, you can make your Rally sign with materials from Walmart. (for no handle, skip steps #2 and #3 below)
Rally Sign with Handle:
The following instructions are for using the materials readily available at most Walmart stores.
You will need to purchase or obtain the following materials:
- Choose a Rally graphic
- 20×30” Foam board
- 20×30” Enlarged print of rally graphic
- Medium size zip ties
- Small roll of clear packing tape
- Wooden dowel, garden stick or broom handle for sign handle
- Optional handle material: 1″x3″ Furring Strip from Lowes or Home Depot (They can cut to length in-store, 42 to 46 inches is optimal)
Step #1: Gather Materials
- Download the Rally graphic of your choice and save it to your phone, a USB thumb drive, or SD camera card
- Use the 1-hour photo kiosk at Walmart and choose the poster size 20×30″
- Gather the materials in the list above at Walmart (Note if your walmart does not have long wooden dowels, you can use any stick that is long enough to be a handle or alternatively you can purchse a 1×3″ furring strip at Lowes or Home Depot)
Step#2: Marking handle holes for zip ties
Lay the foam poster board on a table and mark a couple lines in the center toward the top and bottom.
Lay the stick/board on the poster board so that it is centered with the line. Once centered mark 2 dots on each side of the stick for the zip tie holes.

Repeat this for the top and bottom of the poster board. The zip tie holes should be at least a few inches from the top and bottom.
Once you have your holes marked, you can use a phillips screwdriver, or even a pencil to make your holes by poking through the foam board.

Use the screwdriver or pencil to make all your zip tie holes.
Step #3: Attaching Handle
Lay your stick on the poster board in between the zip tie holes, and fit the zip ties through the holes.

Once both zip ties are in the holes and the stick is lined up to the height you want, tie the zip ties snug and cut off the excess using wire cutters or scissors.

Step #4: Attaching the rally graphic print to the foam board
Lay your rally graphic print on the front of the poster board and line it up evenly. Use 2 small pieces of clear packing tape to hold the print in place.
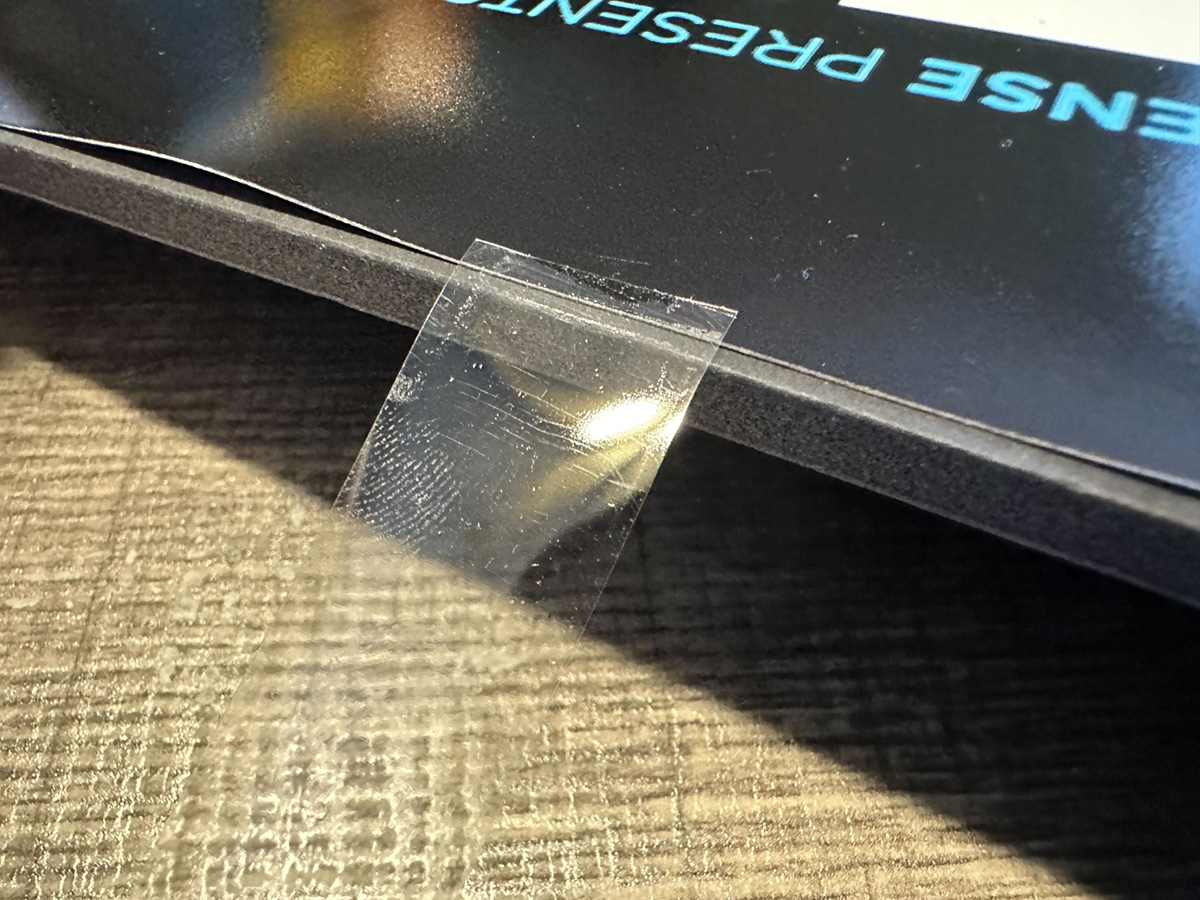
Once in place, tape the edges one at a time with the packing tape, folding each edge over to the back. When you get to the stick/handle, make 2 cuts on each side of the handle.


Once you have the tape attached to the print and folded to the back on all edges you are finished with your DIY Rally sign!
Completed Sign:

Step #5 Optional Handle grip
If you would like some type of grip for your handle, you can use household items to make the grip a bit more comfortable. The example below uses an old (clean) sock. It is cut in half, stretched and taped on with standard black electrical tape. Any tape or cloth will work to make the grip a little more comfortable depending on what type of handle you are using for your sign.

We can’t wait to see you showcase your signs with pride at The Rally to Reclaim Free Speech. Sign up for Rally updates for updates and to get your hands on some apparel.